Know How to Migrate Mailboxes in Office 365
Understand the simple transition process of how to move data flawlessly. The complete working procedure is explained with desired screenshot for help. The product guide will help user if any how any working step is not able to understand. It is suggested to read the entire guidelines before migration of mailboxes to understand the features and functions of the product.
Let's Begin with Working Steps of the Product
Step 2
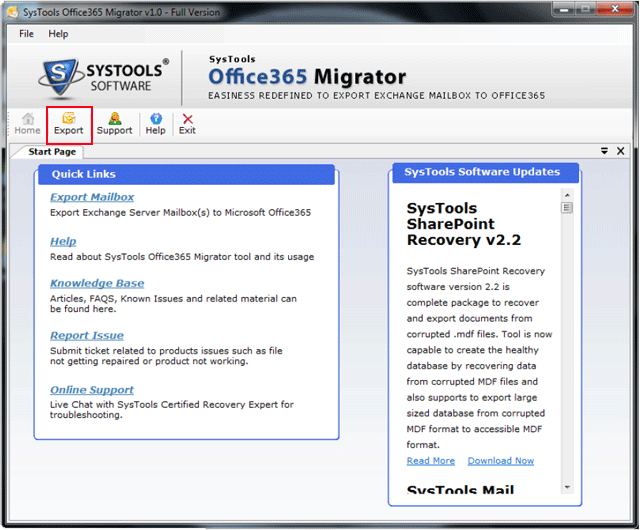
Click on Windows Start Menu>> move cursor to All Programs >>choose application named as Exchange to Office 365 Migrator. Press Export tab to start migration.
Step 3
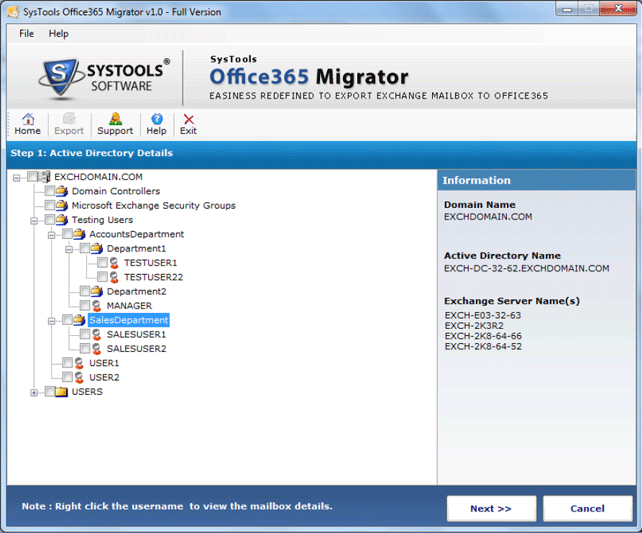
To start migration user need to check two condition whether Active Directory Server and Exchange Server is On.
a) After this, the screen should shows complete detail of Active Directory and Exchange Server
b) The details will only be preview when the machine is in Exchange Server Domain
Step 4
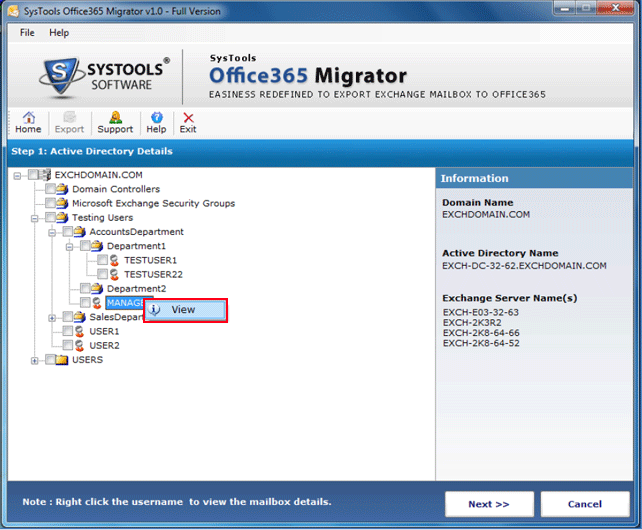
By checking the checkboxes select any user name from the Active Directory lists and right click it to view the items count details of user mailbox.
Step 5
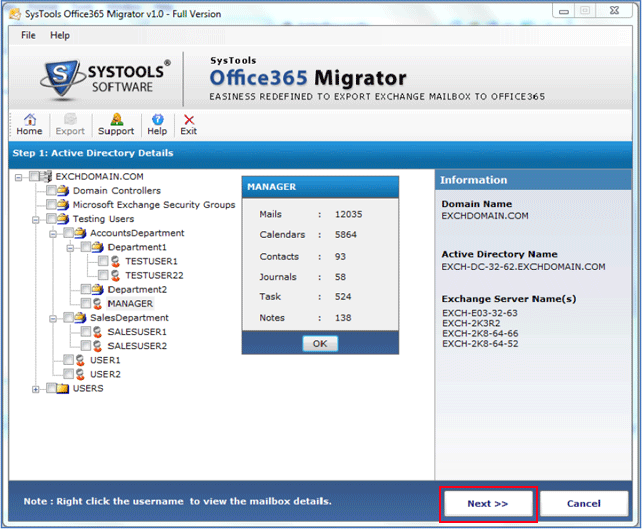
The complete count details of all the mailboxes items (Mails, Calendars, Contacts, Journals, Tasks and Notes) will preview. Click Next for next step
Step 6
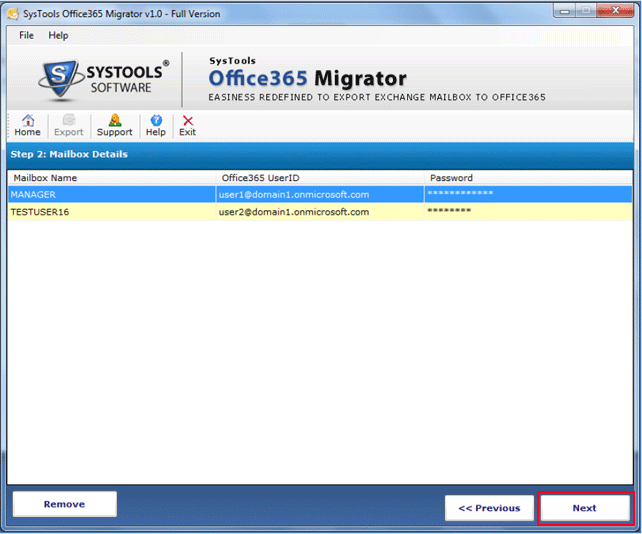
For every selected mailbox assign Office 365 login details and click next button to migrate mailboxes details in Office 365 user accounts.
Step 7
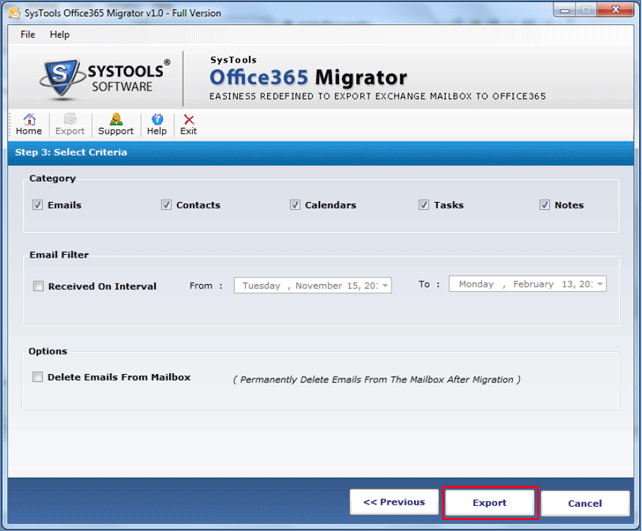
Select all, multiple, and single category of Exchange server and enable checkbox if want to apply Email filter. This checkbox allows user to receive emails from specific date to specific date.
If want to delete emails permanently from mailbox check "Delete Emails from Mailbox" checkbox. Click Export to move selected data to Office 365.
Step 8
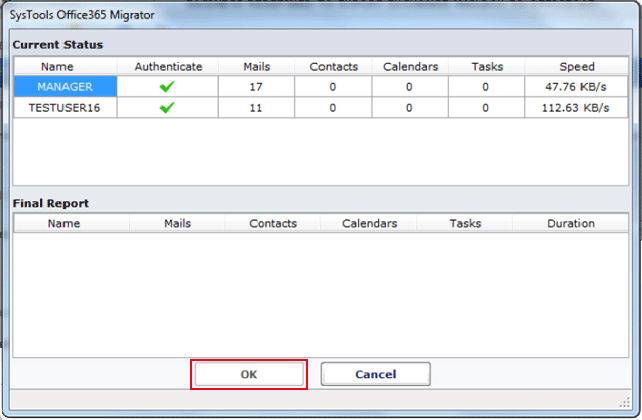
Now the current status report will shows selected mailbox items count detail and its authentication.
Step 9
Click ok when Exchange to Office 365 migration done successfully.
